Debranding: Sony Ericcson c905a (AT&T)
It was supposed to be a lazy day, as there was snow since early morning and still going strong.
All that i was supposed to spend my time with was my bed, blanket and my laptop (well not mine but of the department i work for). But it seems i was all wrong.
In-spite of the heavy snow and it being Saturday, i saw the US Postal service van stopping by and the lady walking down with a box and there is a sound .. Ding-Dong and i could feel my lips stretching as if they realized that it wasnt going to be another boring day.
In sometime my sweet, cute little nephew Mr. Doozi (thats his nick), walks in with the box and tell me to open it. I am happily surprised to see the way he formulates sentences and the expressions he uses to stress on his words, its really amazing (he is not even 2.5 yrs).
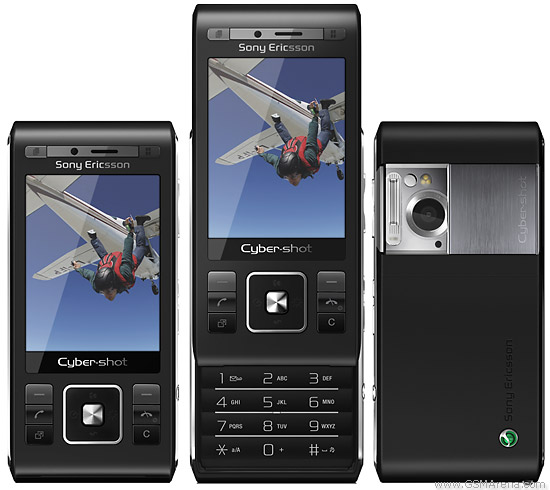
And there it was a Sony Ericcson c905a. I basically am a Windows Mobile + HTC fan, and using T-Mobile Shadow II on AT&T network. How i wish if AT&T could have better phones, anyways i got this one as a upgrade with no data plan for $100 and knowing it had:
>> Wi-Fi
>> aGPS
>> 8.1 MegaPixel Auto-Focus Camera with Xeon Flash
>> Triband 3G
I was raring to get my hands on it and explore it. So here it was, switched it on and got further disappointed with AT&T for not providing any utility to use the Wi-Fi, for GPS also you needed a dataplan. So started looking out on the web for options. After literally spending a day on internet (cannot imagine life without internet now), i realized i needed to “Debrand” the phone in order to use the Wi-Fi. So the ordeal begun, after breaking my head over the UPGRADE option by changing the custom.xml file and it not working the way it worked for everyone else, i was left with no option but to flash the phone as i have been doing with previous SE phones but then was a little reluctant as there was no account of anyone else doing it on the internet.
Anyways, started looking around about how to go for it. There are the tools that are needed to flash your c905a:
>> A2 Tool
>> Flash Images (Both main & fs)
>> Custom Image for your phone
** You can find all the files here in the .rar format.
** Please back up your phone before trying this yourself. I hereby do not take any responsibility for your actions. This is a procedure that i followed and it worked for me.
Once you have downloaded the .rar file, unrar it and start the a2uploader.exe program.

Click on this image to see a larger version of the same.
Step 1: Click on the “Add” button and select C905_R1FA035_FS_APAC-ANZ_RED53.fbn and then C905_R1FA035_MAIN_GENERIC_SI_RED53.mbn files one by one.
Step 2: Click on “…” button and select C905a_1212-2674_R6A_Customized_Generic_LAM_(b).zip file.
Step 3: Click on the “Flash” button.
The program will ask you to keep pressing “C” on your phone and plug in the phone side of the USB cable into the phone after you have removed the battery and re-inserted it. (Assuming that the phone is switched off, USB end of the cable is already connected to the computer and you have already installed the USB driver that was in the .rar file)
The flash process will now start and will take anything withing 10-20 minutes. Please be patient.
Once the flashing is over, it will look like as you see in the picture. Yes, you are done. Disconnect the phone, insert the SIM card and start your phone. Since its the first time, it will take some time to make it ready for use, please be patient.
I hope you find this useful and not waste your whole day as i did 😉
There are no comments
Add yours